Posts tonen met het label making. Alle posts tonen

zondag 11 mei 2014

Prototype 48

EXPLANATION //

Evolution of prototype 47
Based on the testing in prototype 47, we adapted our design:

  • use of double-slip collar
  • leash is braided directly on the collar: lighter connection
  • rope that holds the golfabll is sewed on the collar: stronger that knot


VISUALIZATION //

all parts needed to make this prototype:


EVALUATION //


zaterdag 10 mei 2014

Prototype 46

EXPLANATION //

Adapting prototype 45.


  • We bought a choke collar, because of the instructable: it is a standard piece.
  • We tried to position the rope with the ball a little bit further from the ring, so that the rope wouldn't twist around the collar.
  • We tried different material to make this little rope more stif: a thick elastic, a thick rope, foam around a rope, a straw around the rope, and an electricity cable. The straw around the rope was the best solution, but it wasn't durable. So be bought a small transparant PVC tube that fulfills the same function.


VISUALIZATION //


For the fixation to the wheelchair, we use the bar under the armseat.

We prototype a metal bar with two 90° angles in it (so that the box doensn't stick out of the wheelchair)
 The PVC box is attached to it with help of 2 bolts.


All materials needed for this prototype


EVALUATION //


donderdag 1 mei 2014

prototype 44

EXPLANATION //

Improvement of prototype 34 after testing it at visit of 17/04.
We made a cylindrical 'box' with a slot. We cut it diagonally, so no matter where the dog
throws the ball in, it will always end up in the slot.
We also fixed the end of the leash, not on the box, but elsewhere on the wheelchair.
(Note: this end has to be higher then the slot, because otherwise the ball will maybe jump
out of the box). We also reinforced the red rope that leads to the golf ball, so that it would twist less around the leash. The box is temporary fixed to the wheelchair with cable ties.


VISUALIZATION //


EVALUATION //


dinsdag 29 april 2014

Prototype 41

EXPLANATION //

Improving prototype 35.
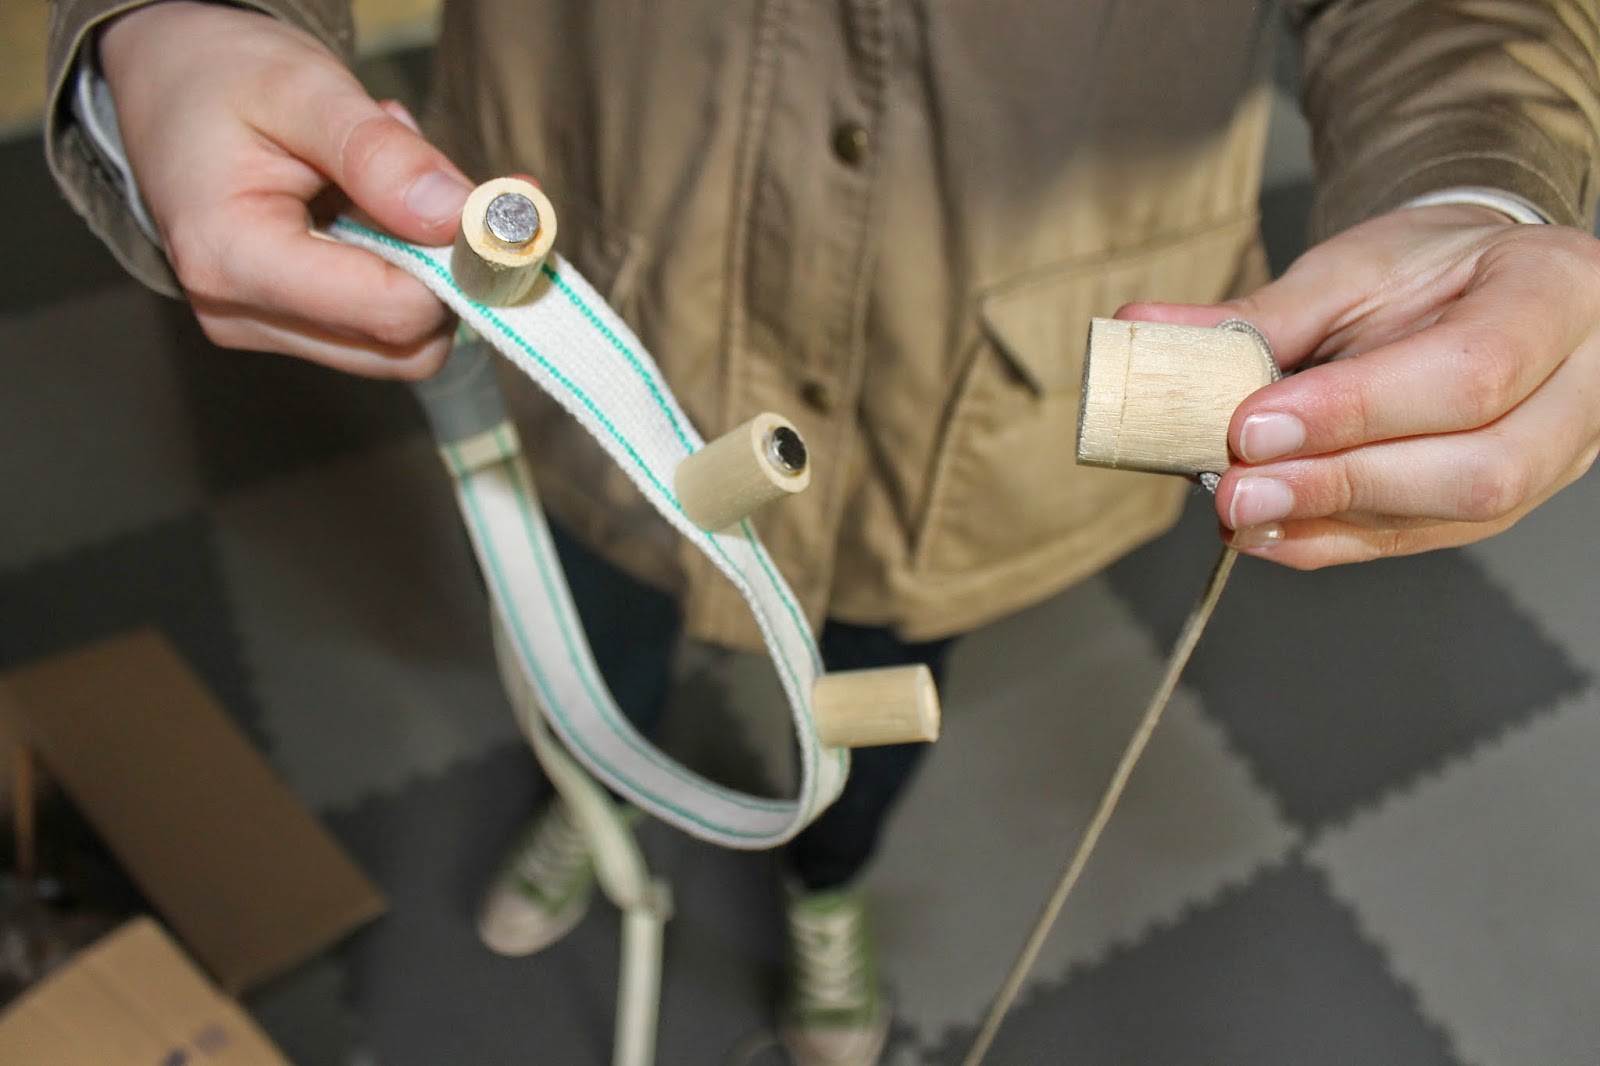
We bought stronger magnets and attached several magnets on the leash.
They are fixed on a wooden piece and stick out.
The other part, attached to the wooden arm on the wheelchair, contains a magnet too.
But this one is fixed at a distance in a whole in the wood.
In this way it is more difficult to perform shear force on the magnet connection.

VISUALIZATION //


EVALUATION //


maandag 28 april 2014

Prototype 40

EXPLANATION //

Improving prototype 35.
We replaced the magnets bij stronger ones, but kept the metal surface that has to be attached to the collar of the dog.

VISUALIZATION //


EVALUATION //


zondag 23 maart 2014

Prototype 35

EXPLANATION //

Improving prototype 32.
In stead of a magnet that is fixed to the arm, we use a little rope where the magnet is attached to.
A magnet is only strong when a force is exerted perpendicular to the magnetic surface.
It can not tolerate shear stress.
So when the magnet is attached to a rope, the magnet will move with the collar, when the dog
does not pull too hard.
We also attached a rope to the arm where the dog has to pull to collapse the arm.
On the collar there is a piece of iron.
We kept the old magnet on the arm, if Caroline would want to practice with this one.

VISUALIZATION //


EVALUATION //


dinsdag 18 maart 2014

Prototype 34

Improvement of prototype 33

EXPLANATION //

We reinforced the collar-part by putting an iron wire around the rope
in order to make the loop where the dog has to put his head through, more stiff.

The balls in this prototype are smaller and heavier.

  • The weight is important, because the ball has to stay on the ground (by gravity) when the dog bends down to grab it. 
  • When they are smaller, they will hinder less, when the dog is walking.

One part of the leash is fixed permanently, so it won't come off by accident.

VISUALIZATION //


EVALUATION //


Prototype 33

EXPLANATION //

Improvement of prototype 29.
Using wood for the V-slot in stead of cardboard.
We offer two different balls: a tennis ball and a ball that was made especially for dogs.

VISUALIZATION //


EVALUATION //


CONCLUSION //

Following element should be improved in the next prototype:
The part of the leash, where now a wooden disk is attached, should be fixed permanently to the V-slot or to the wheelchair


Prototype 30

EXPLANATION //

Improvement of prototype 15, using the feedback on prototype 19 & 27.
Using a magnet in stead of a hook.

VISUALIZATION //


EVALUATION //


Prototype 29

Improvement of prototype 16.
Making a modular system, to attach different balls.
Width of the slot adapted to the rope.
Rope is red: dog can see it clearly.


VISUALIZATION //


EVALUATION //


Prototype 28

EXPLANATION //

Improvement of prototype 13.


Using magnets, it will be easier to attach the dog to the leash as before with prototype 13. We will make this one and test it on the dogs next time we go to 'HacHiko' in Merelbeke.

Prototype 26

EXPLANATION //

Improvement of prototype 9 and 12.

We had this idea during the second visit at Hachiko.

The lock system (arm fixed to chair) is only a help for attaching/detaching the collar to the dog. Once attached, the collar is directly fixed to the chair.
This way, locking/unlocking becomes much easier.


MATERIALIZATION //

EVALUATION //


zaterdag 8 maart 2014

Prototype 18

EXPLANATION //

Improvement of protoype 9.
inspired by prototype 8: the retractable device


MATERIALIZATION //


EVALUATION //


Prototype 17

EXPLANATION //

Improvement of prototype 5: we added a pulley on the leash.

- same locking system as before, the collar is tensioned automatically when the dog walks (pulls leash)
- If the dog pulls at the end of the rope that is next to his head, then the loop becomes bigger,
so he can detach himself.

MATERIALIZATION //


EVALUATION //

vrijdag 7 maart 2014

Prototype 16

EXPLANATION //

Evolution of prototype 5 in combination with prototype 1.

The V-slot is attached to the wheelchair in stead of the dog's collar.
The little balls at the end of the ropes (zie afb) will be thrown in the V-slot-box by the dog.

ATTACHING: 
Step 1: throw the ball at the end of the leash in the V-slot. 
Step 2: put your head through the loop.
Step 3: start walking

DETACHING:
Step 1: grab the ball at the end of your collar (hanging next to the head)
Step 2: move or walk; the loop becomes bigger.
Step 3: Remove your head from the loop.

MATERIALIZATION //
V-slot with box for the ball


leash+collar


EVALUATION //