We particulary presented our two last prototypes, and explained their evolution.
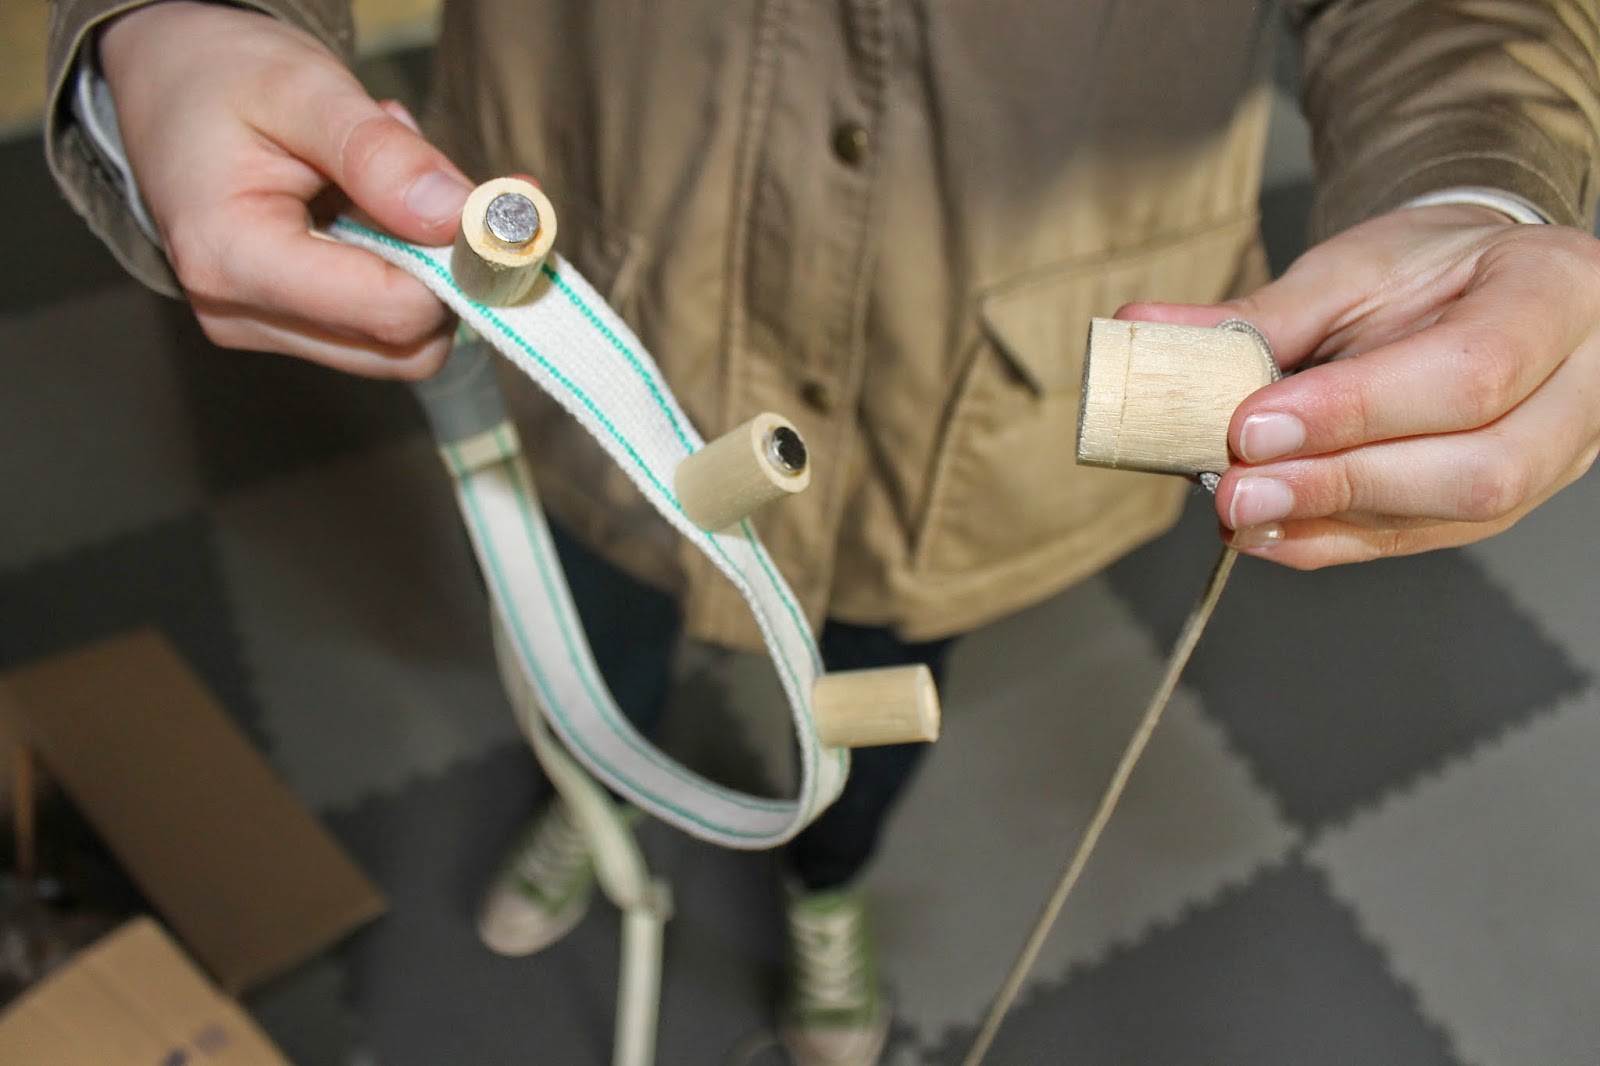
Prototype 34:
The leash has to be stiff and flexible at the same time, because the loop has to slide easily to lock and unlock the dog. The iron wire has to come off, because it causes too much friction.
Other alternatives:
- iron wire inside the rope
- rubbery leash
- look up different kind of plastics
- reinforce only one small part of the collar
- (using a ring in stead of small loop, that slides over the leash)
advantages of this prototype:
- playful (for the dog)
- simple
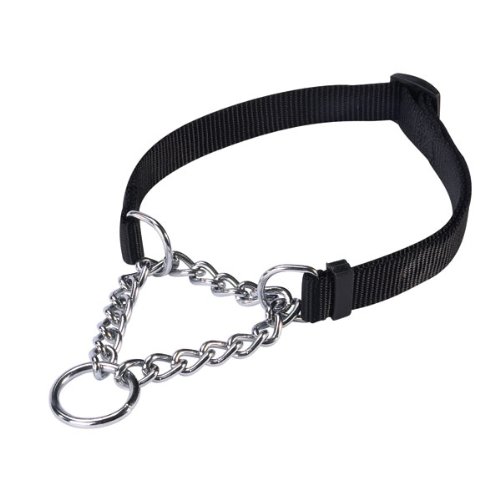
Prototype 35:
Remarks:
How will the the iron part of the collar stay in the back of the neck of the dog:
There already exist collars that contain an iron chain that can be the weight we need
to keep this part of the collar down. (this needs to be tested)
We can also use this mechanism to improve our prototype in an other way:
When to leash is not stretched, the dog can easily put his head through the collar,
because the loop can become wider.
Also we need to test multiple magnets.
Think of different ways to make the iron surface on the collar bigger and comfortable for the dog.
For example: a collar that is build out of segments.